Build Summary
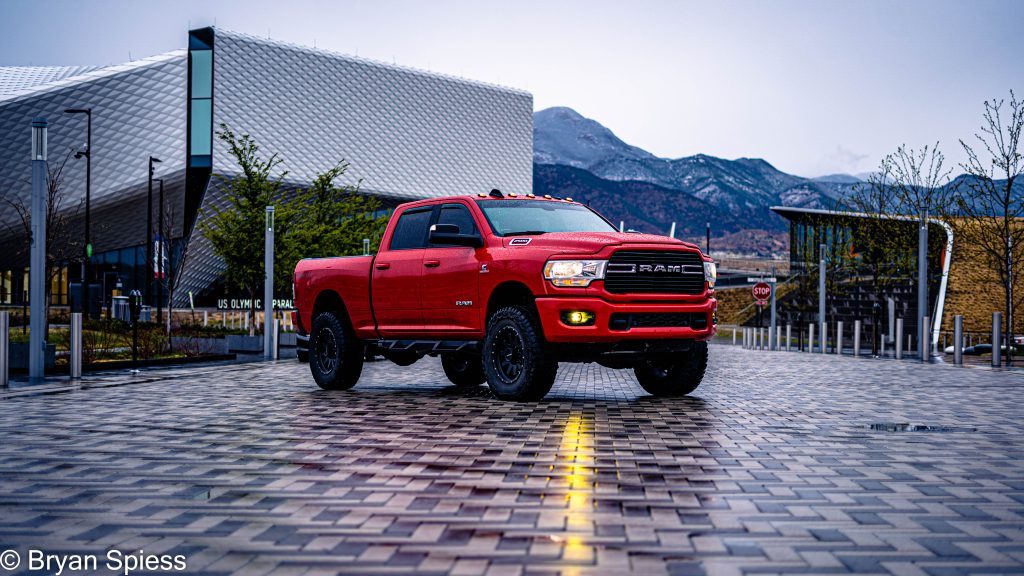
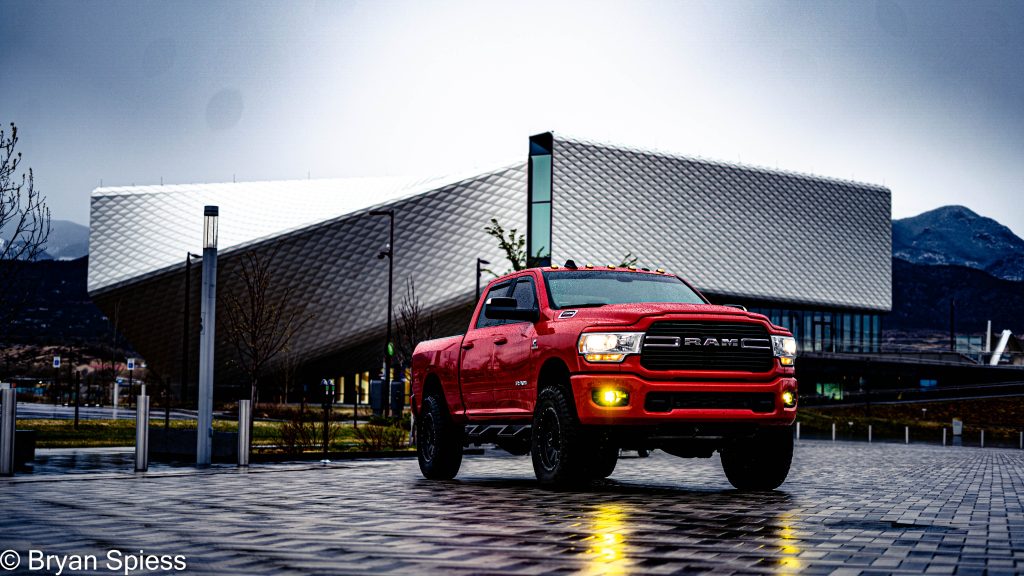
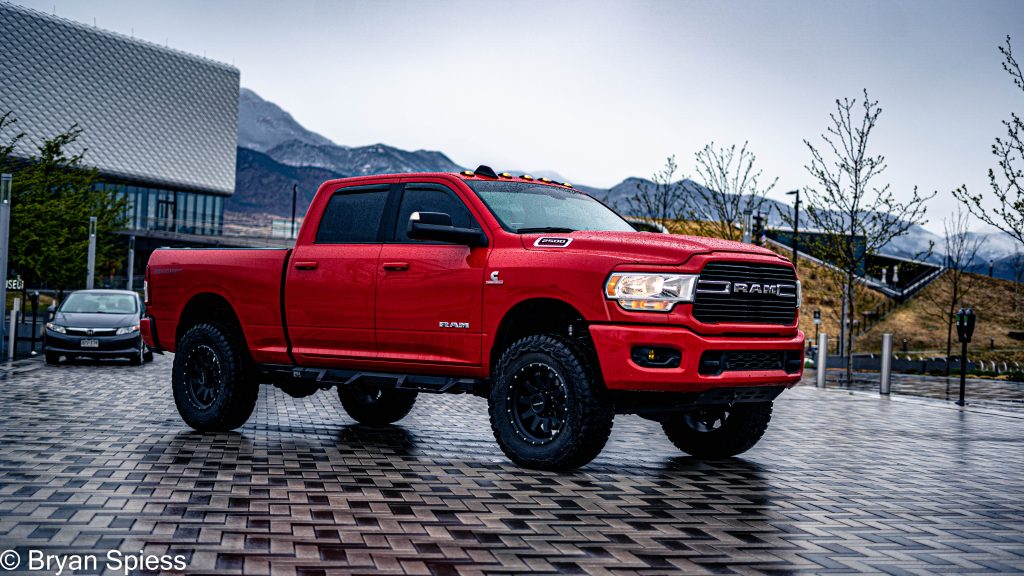
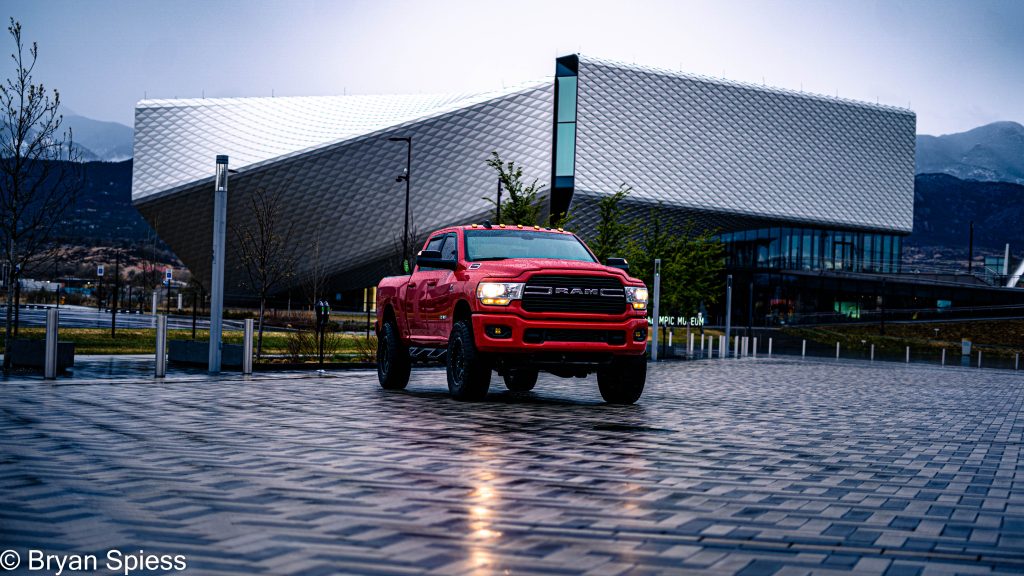
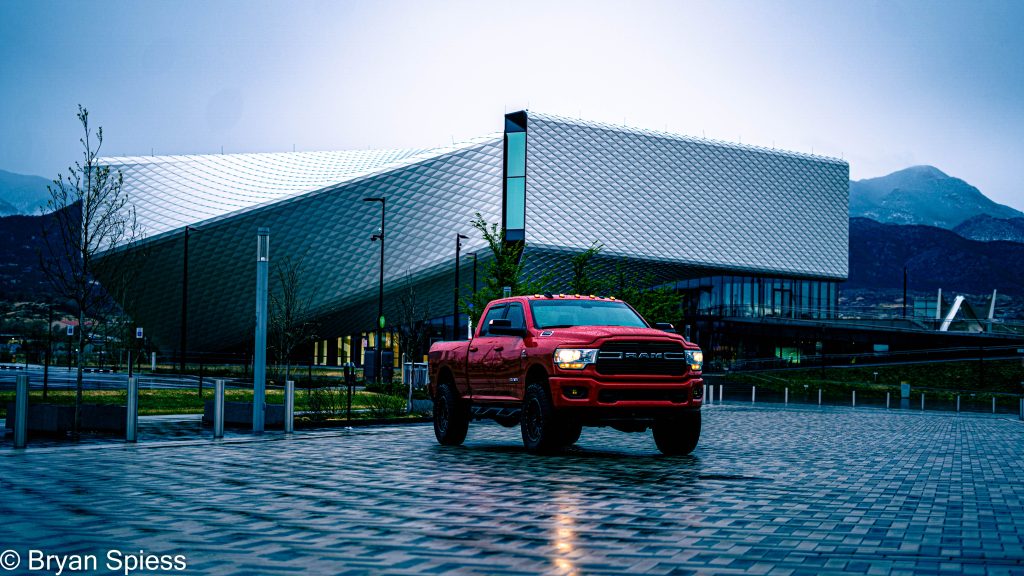
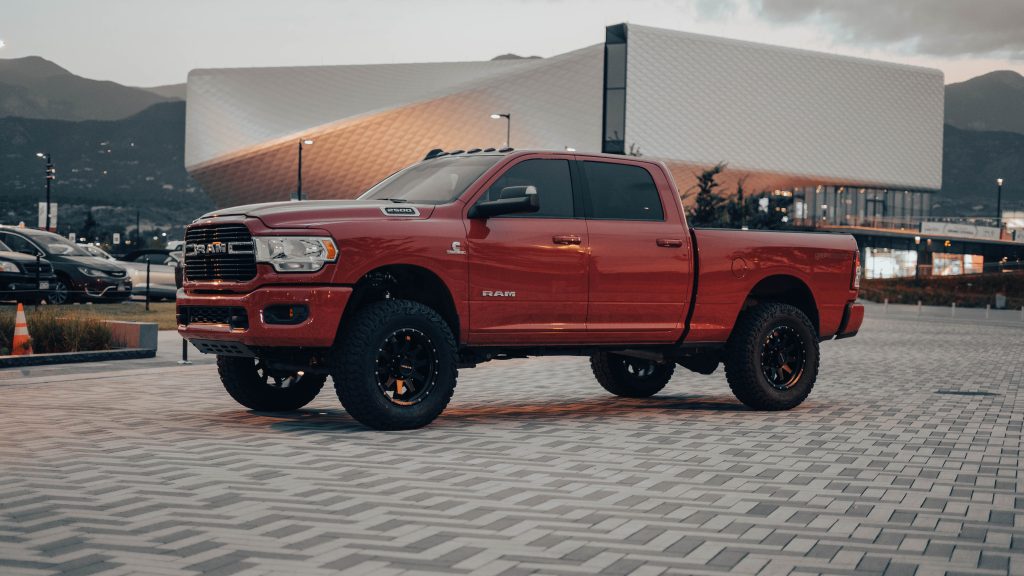
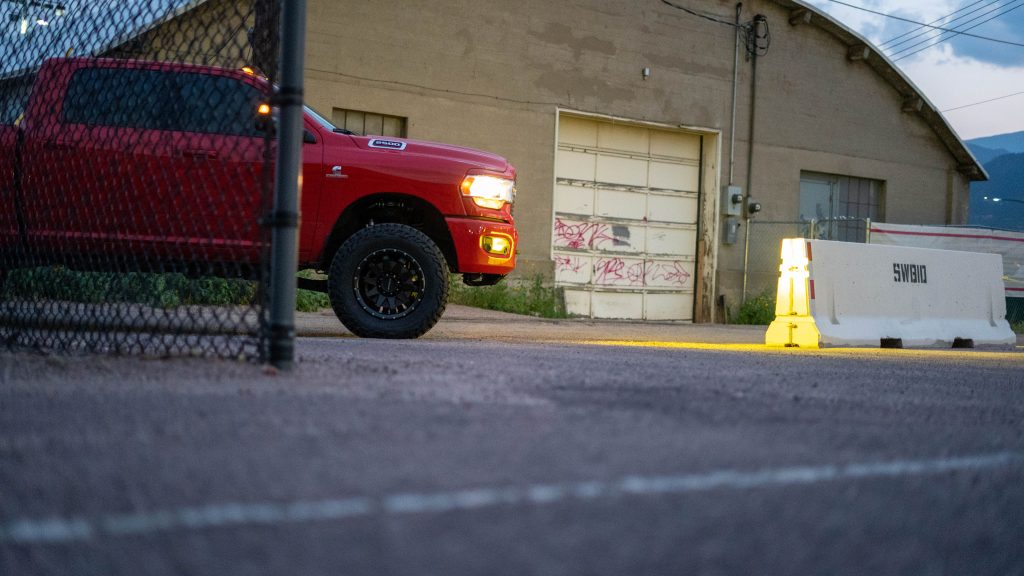
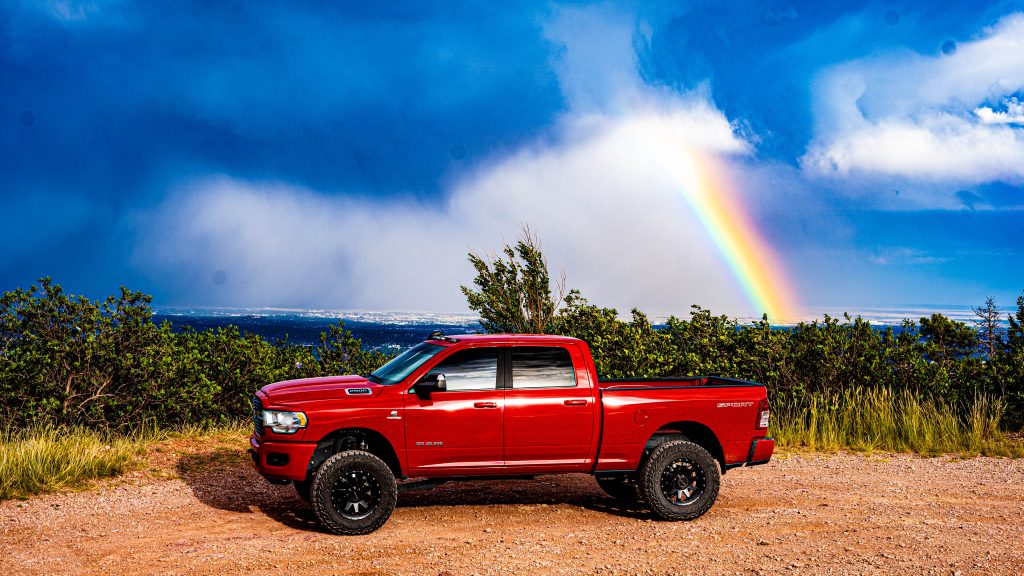
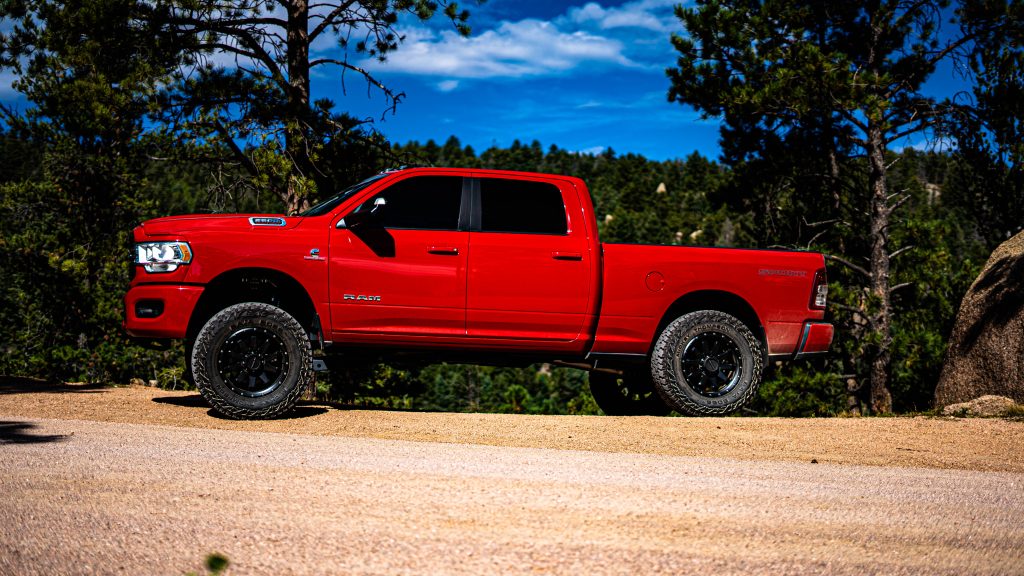
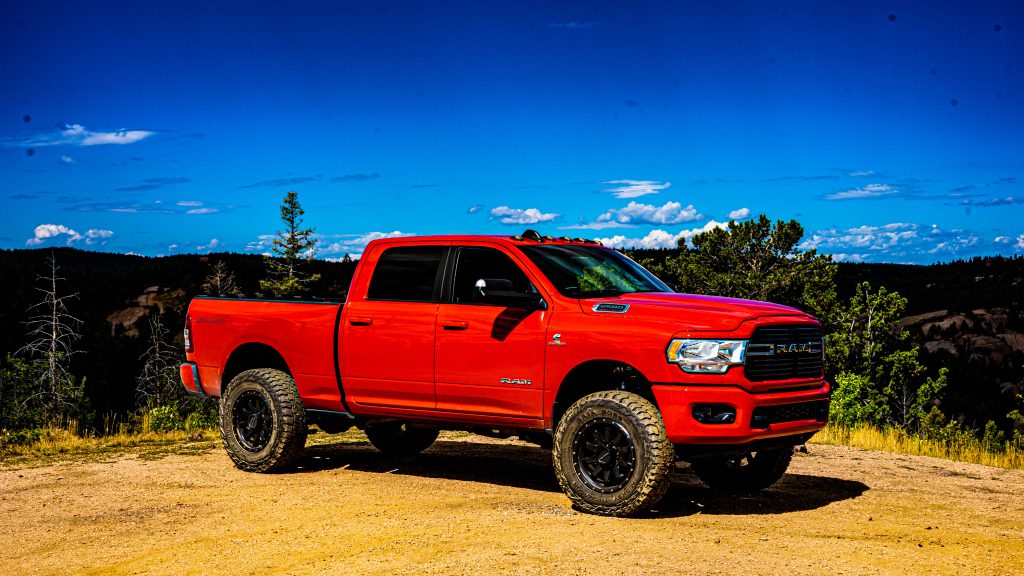
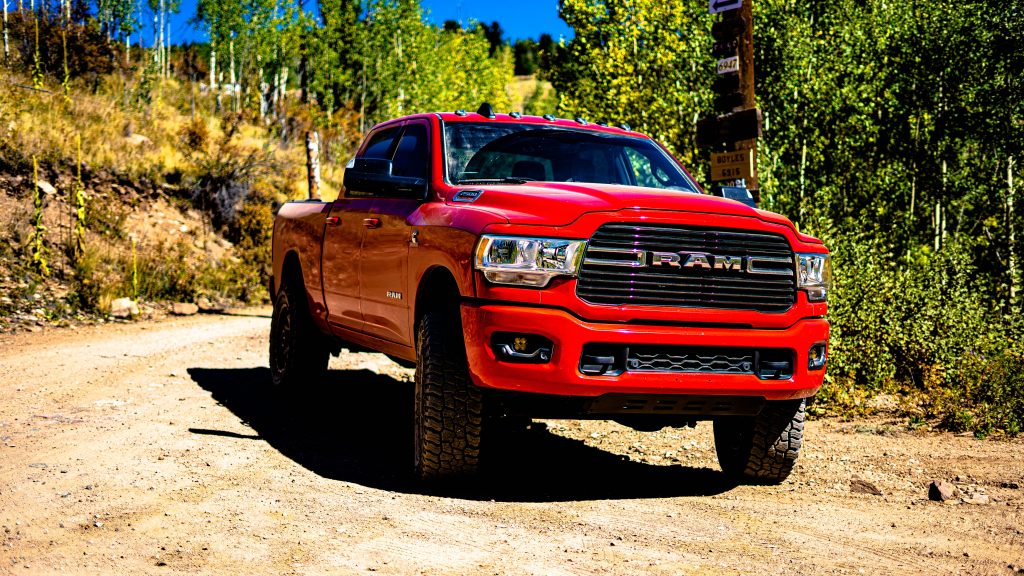
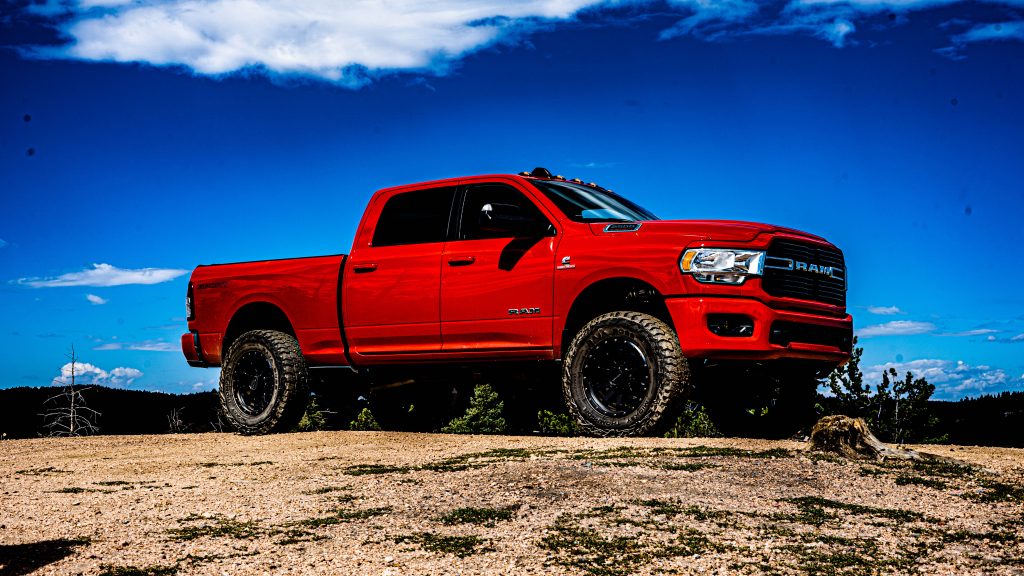
This truck has a very special place in my heart since it was my personal truck. It was so exciting to build a truck of my very own. I purchased it as a bone-stock 2020 Ram 2500 Big Horn. It had the Cummins in it and was never short on power or torque. However, I always thought that these trucks looked like grasshoppers when they had the factory rake; so I immediately sought help from the aftermarket.
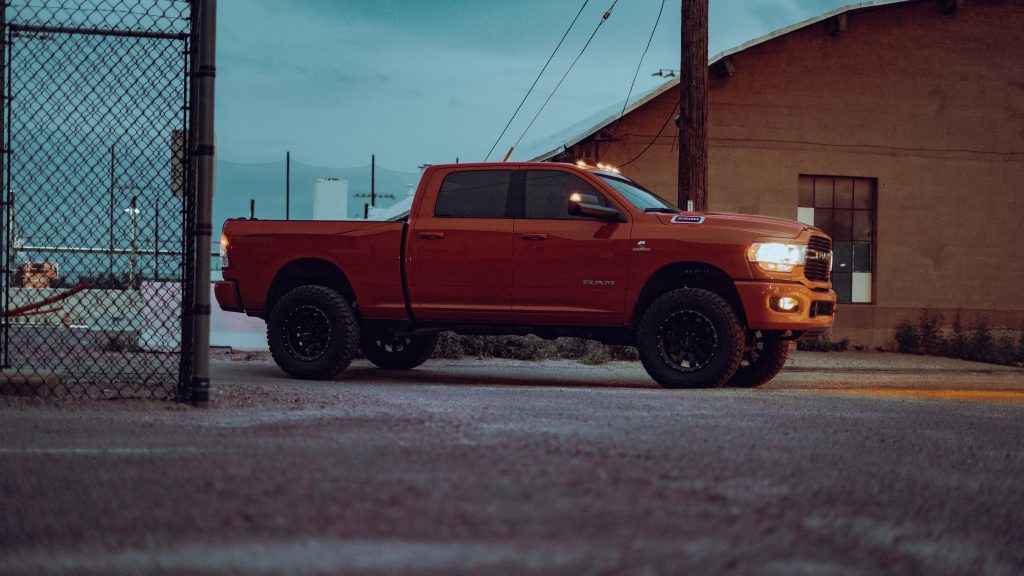
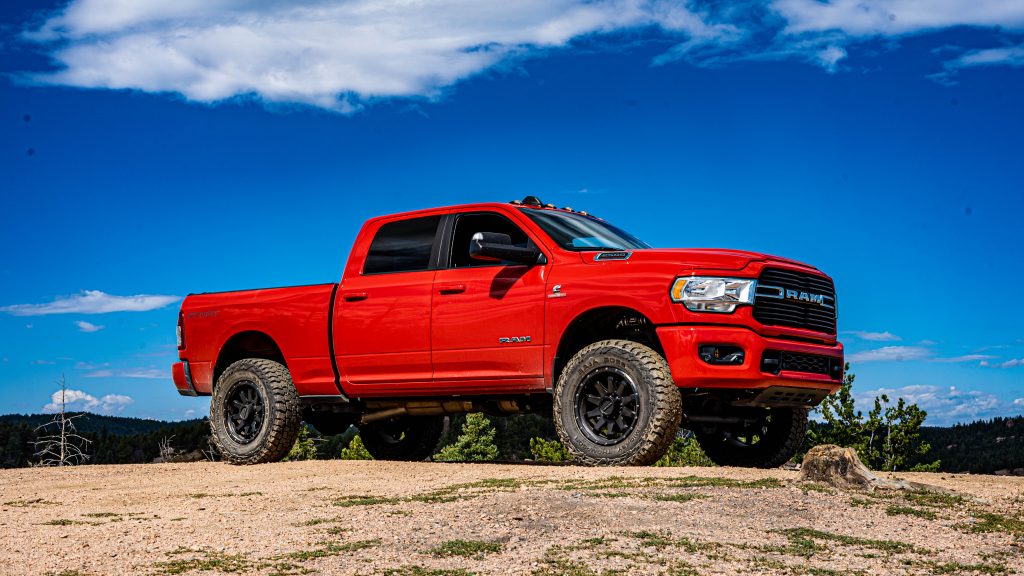
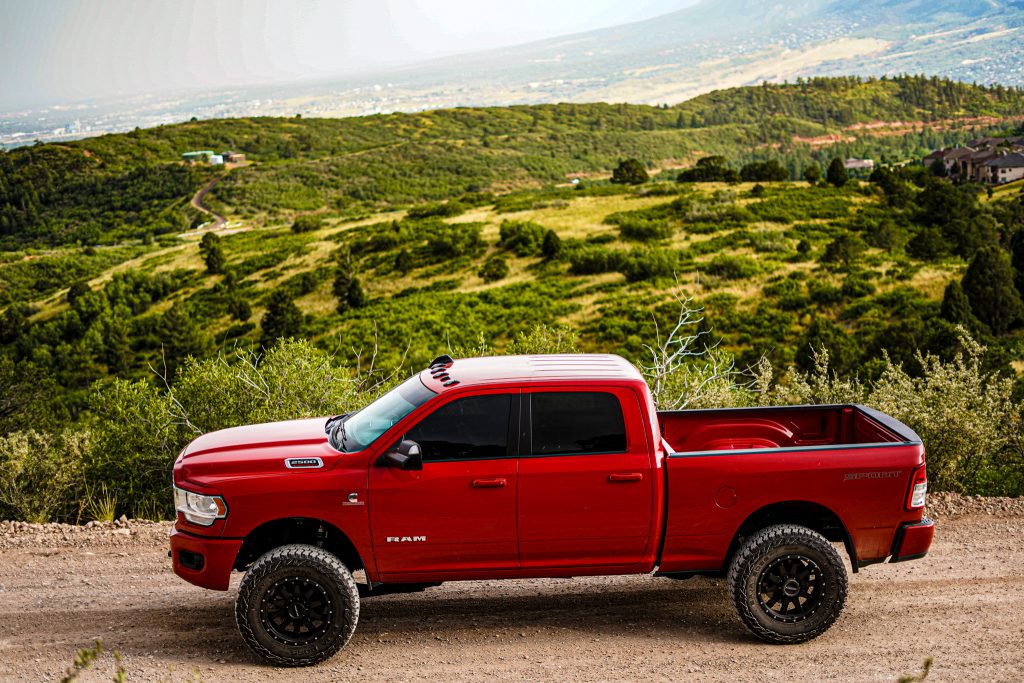
I wanted a lift kit that included the coils, and not just a spacer so I enlisted the help of the Icon Vehicle Dynamics Stage 2 “performance” leveling kit. The performance edition means that it will include rear progressive coils as well. The kit also came with the remote reservoir shocks up front, and piggy back shocks in the rear. I found the stage 2 valving to be a bit aggressive for daily driving. It was dialed, handled well in higher speed corners, but also was a bit rough over the smaller bumps that I encountered on my commute.
Off-road this suspension system really came alive as you were hitting ruts and washboards at 35MPH+. This valving proved to be a bit aggressive so if you are looking for a more commuter friendly set up, you may want to consider the stage 1 kit. This kit did not include a track bar either. You can upgrade it with the new track bar if you would like. If you are short on cash with the purchase of the lift, I did not find that the factory track bar threw the axle a noticeable distance to one side or another. I have heard that about 20,000 miles is sort of that crossover point. If you have more than 20,000 miles on the factory track bar, that is where you will start noticing slop, light death wobble, etc. and may want to opt for the new track bar while you are already tearing into the front end. However, it is not a MUST to change this out when leveling the truck.
Another upgrade that can be made to really open up the suspension is a lighter weight swaybar. Carli makes an awesome torsion sway bar, but I opted for the Thuren sway bar. This will allow the front axle to behave a bit more independently than the stock sway bar allows it to. You can go one tire up on a driveway without the “equal and opposite reaction” that tries to throw your head against the window in these trucks. This is an awesome for those of us not doing a ton of heavy towing/hauling. I would not recommend getting a softer sway bar if you are towing a tall and heavy 5th wheel or in-bed camper. The weight and center of gravity will have its way with the softer sway bar.
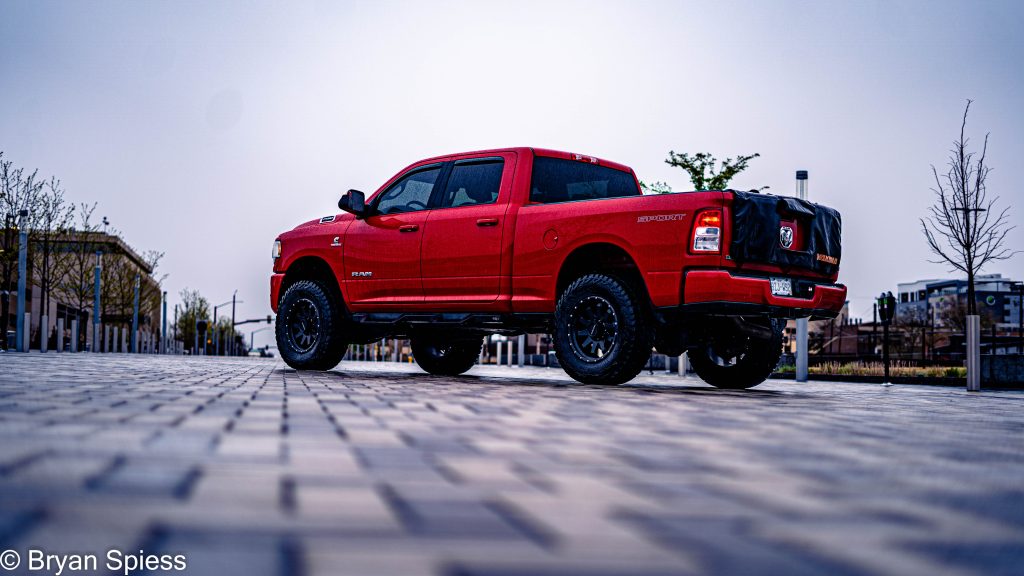
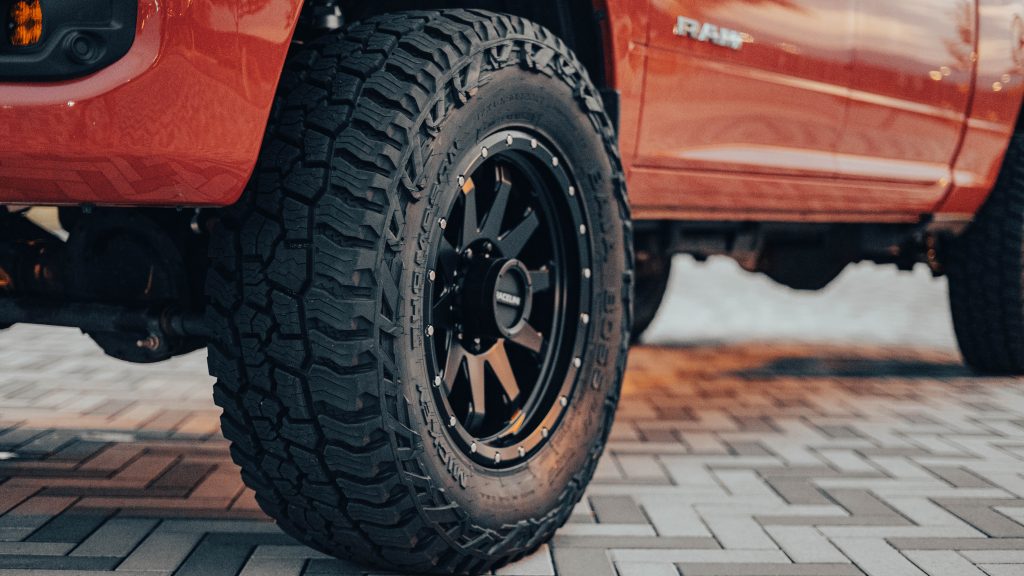
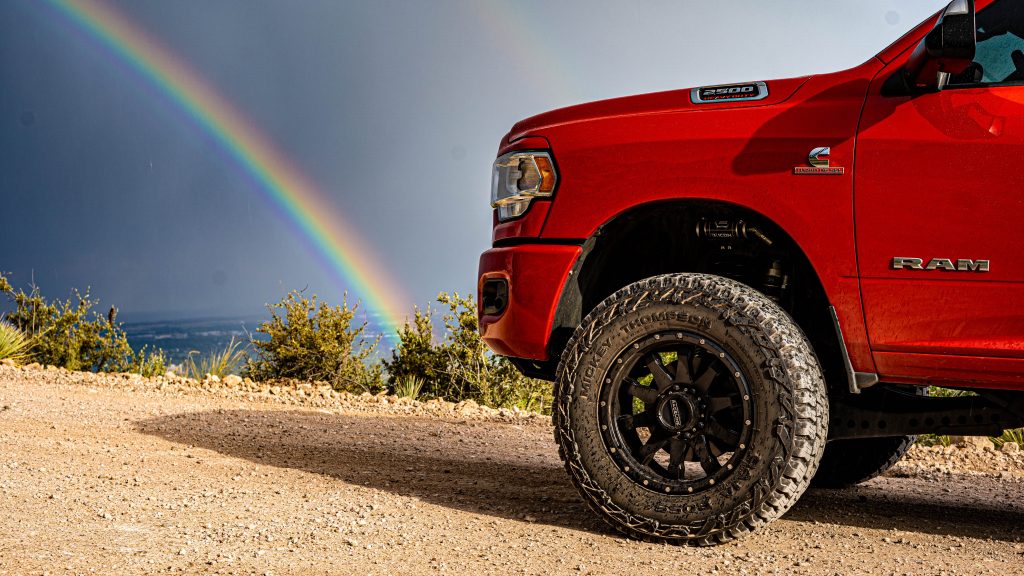
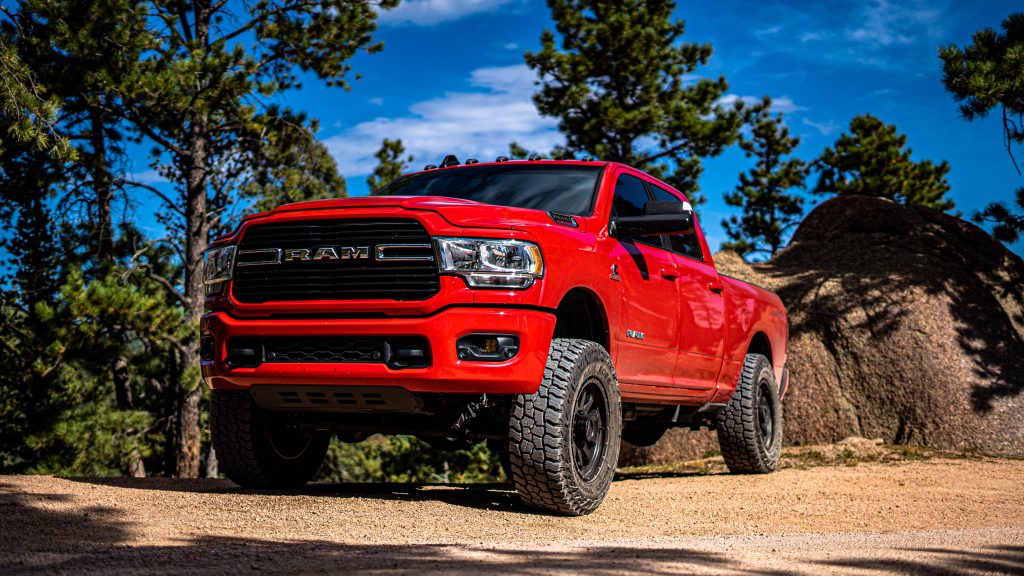
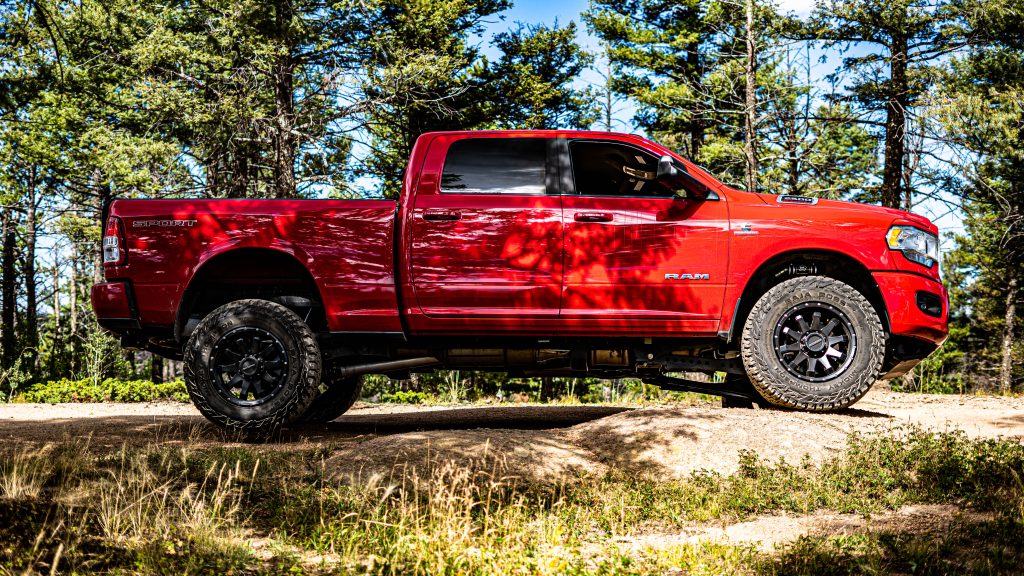
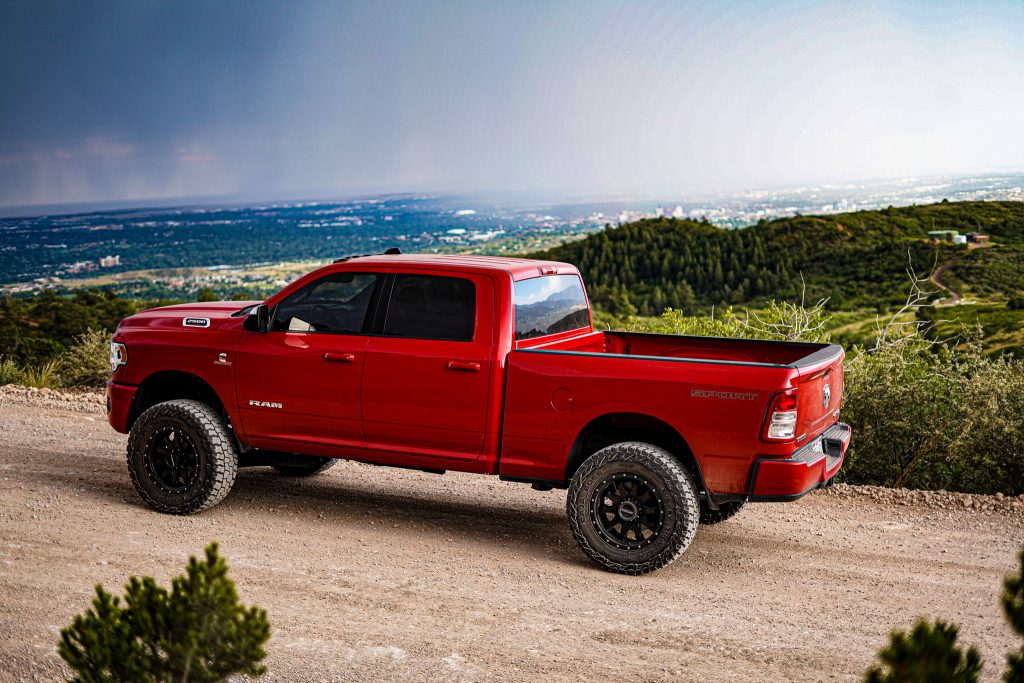
I wanted to go with more of an offroad look, and wanted to fit 37s underneath this leveling kit. My personal style does not like a lot of fender gap. I opted for a 20x9 Raceline Clutch wheel in black. By staying in the +12 to +20 offset range, I was able to fit quite a bit of tire underneath with minimal trimming. These wheels are a +12 offset which I feel gave me a great stance while also keeping the tire off of the radius arm and sway bar. I took the fender liner up a little bit, and ground the pinch weld on the cab back. I had zero problems with rubbing.
The tires that I went with have become my personal favorite.They are the 37x12.50R20 Mickey Thompson Baja Boss AT. When we started in this business, customers usually had to go with a mud terrain tire to get a sidewall that actually gave the truck an offroad look. All of the tire manufacturers are finally giving their all terrain tires a look that does not look like a passenger car. These tires were not loud at all, and handled amazingly well in the snow.
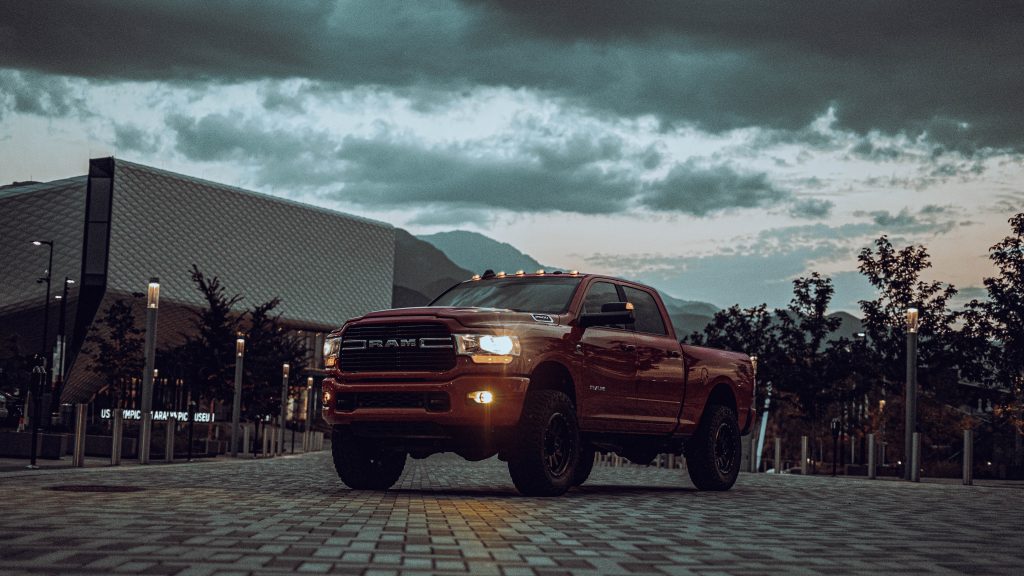
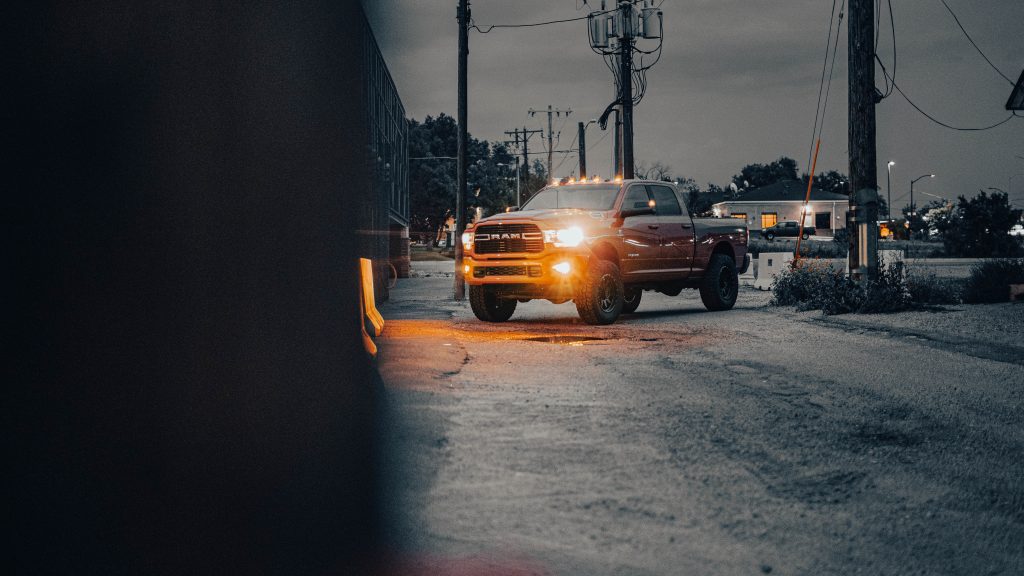
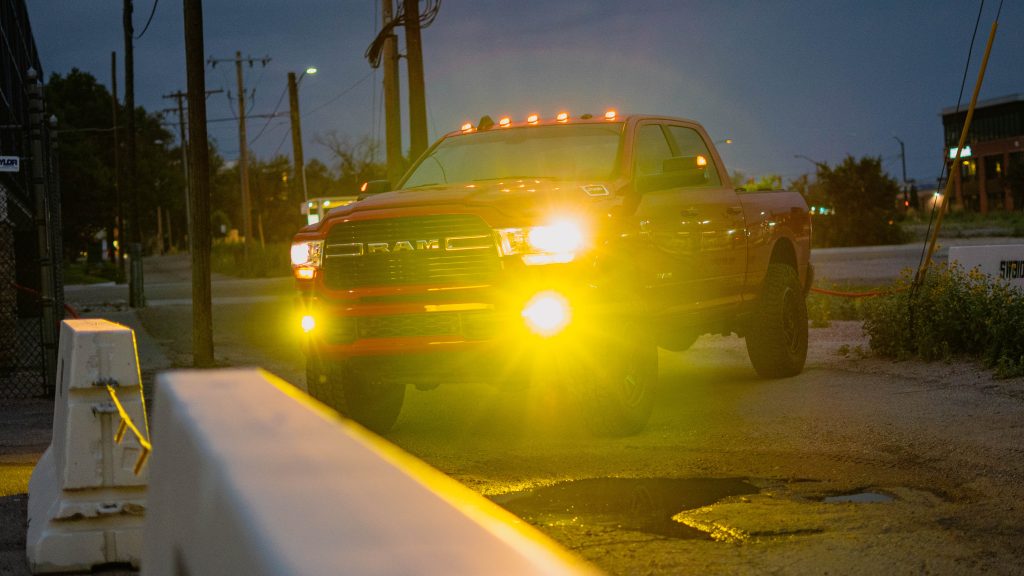
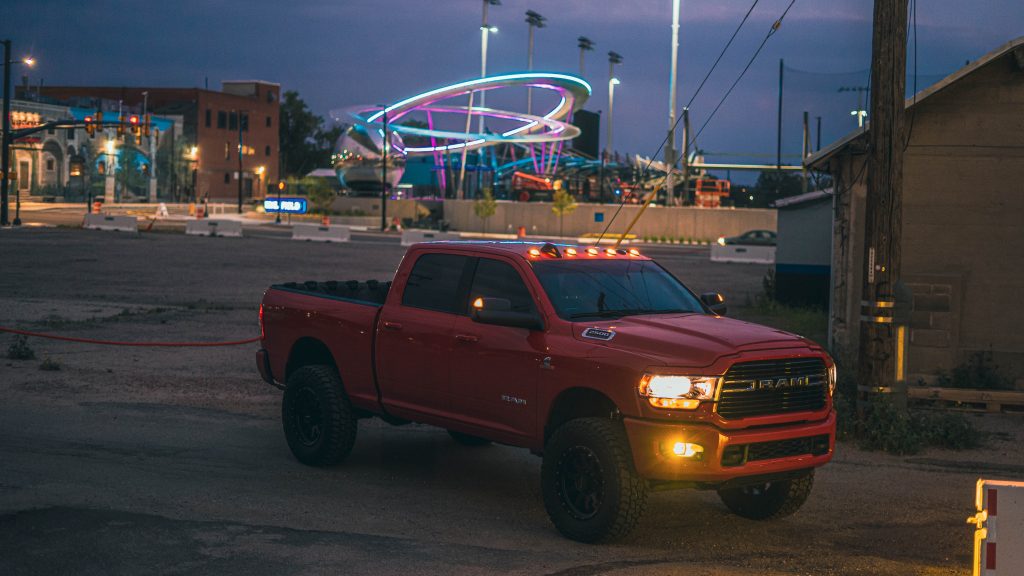
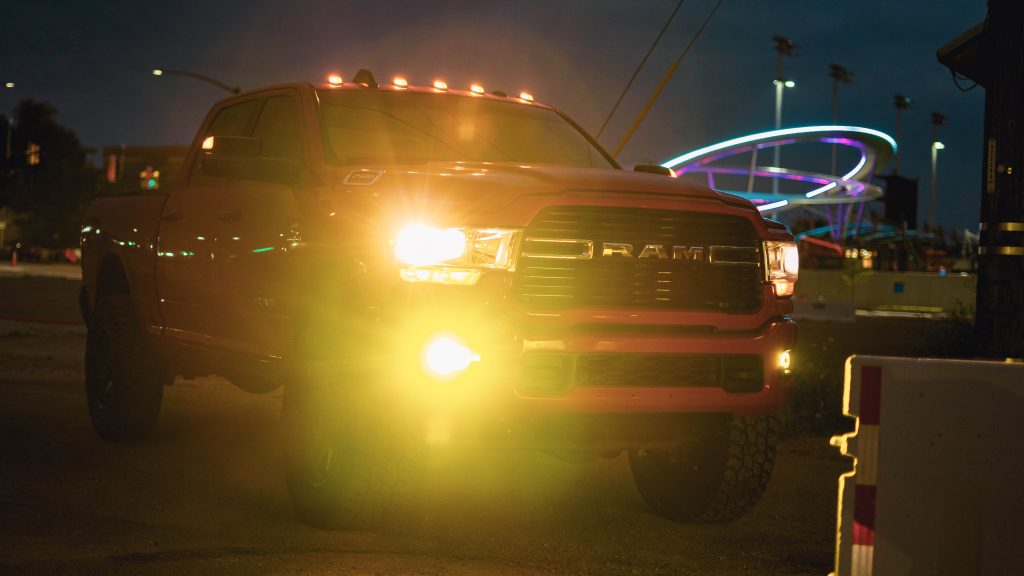
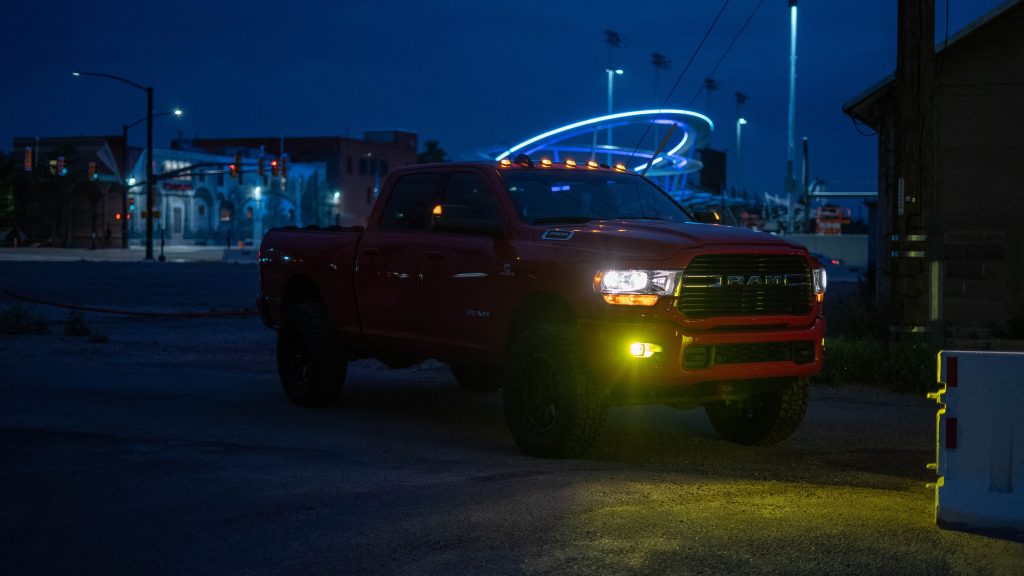
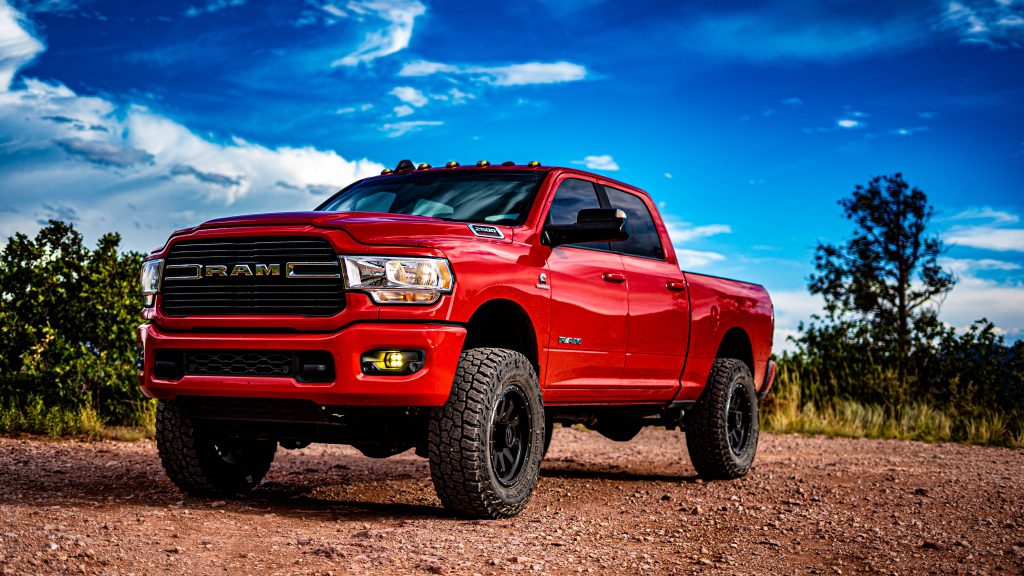
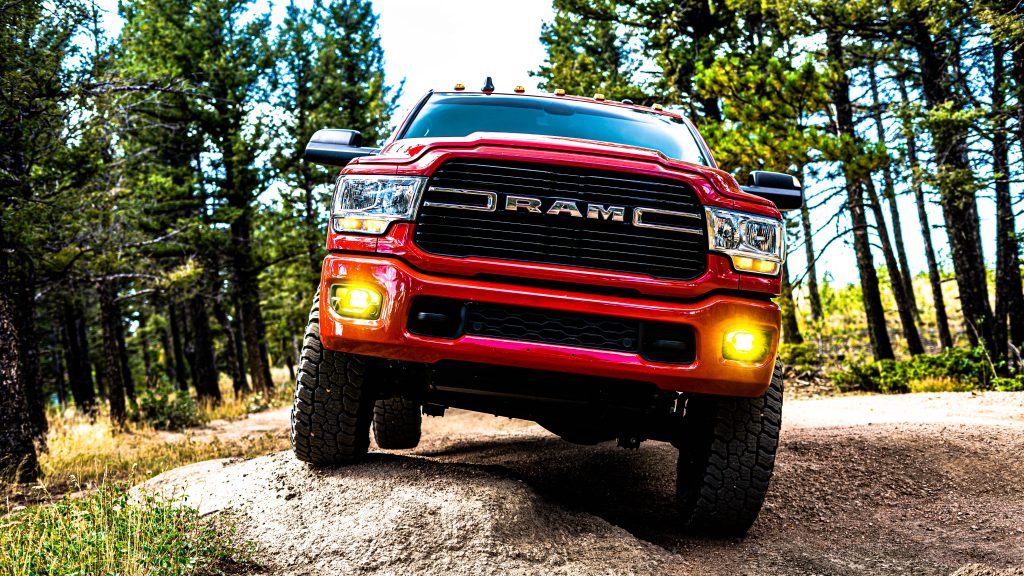
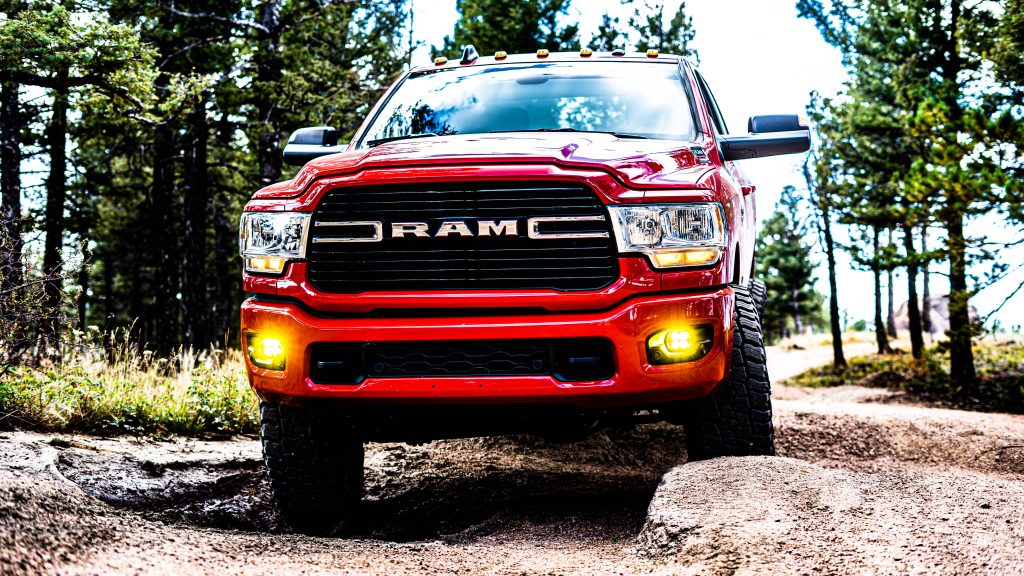
Then it came time to accessorize. I went with the Baja Designs Squadron kit in amber. This kit allows these squadron lights to integrate perfectly with the factory fog light bezels. It looks like a nice OEM plus setup as I would call it. I used the sport series which proved to be a little too bright for city driving. If I could go back and do it again, I would go with the SAE style. The fog lights automatically turn on as cornering lights when the turn signals are activated and they proved to be too bright for sharing the road with others.
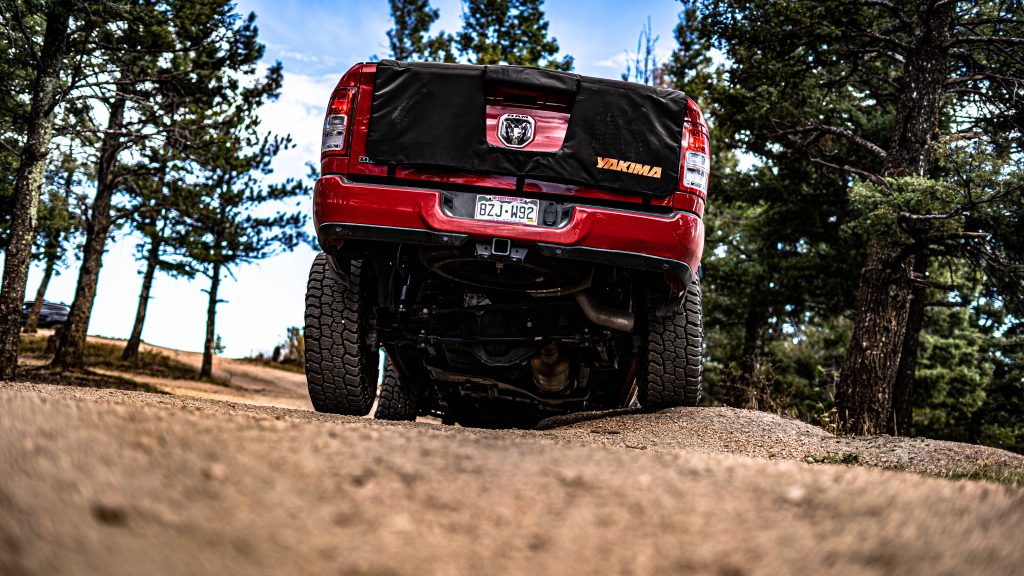
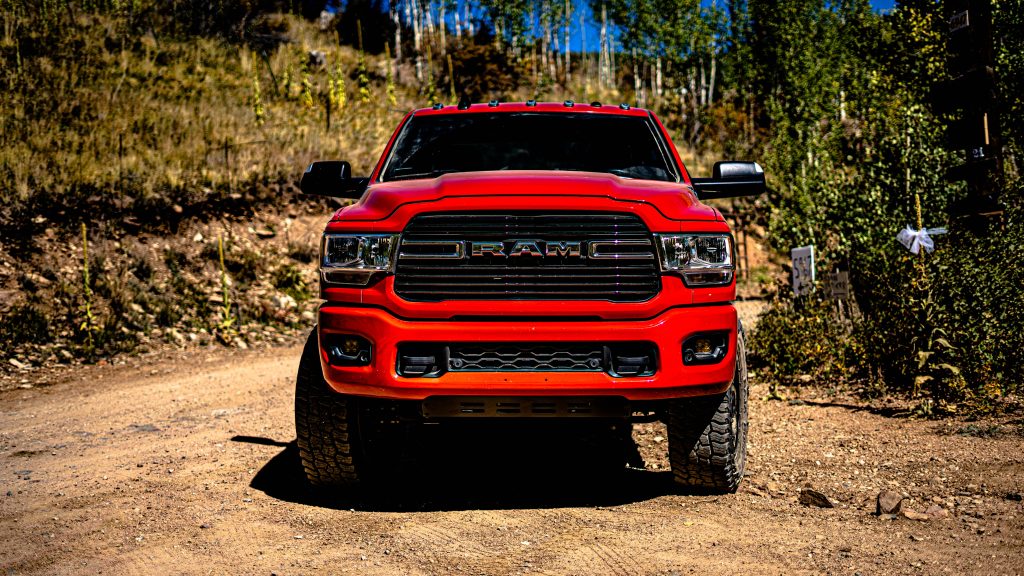
I also added the CJC Offroad Intercooler Guard. This allowed me to remove the bulky factory air dam without exposing the intercooler to the hazards of the road. This really completed the look and cleared up a solid four inches of ground clearance under the chin of the truck.
The final piece of this build was the AEV Pro Cal. This calibrator plugged straight into my OBD-II port, and through a series of buttons on the truck’s infotainment system, I was able to adjust a few settings. I adjusted the speedometer and odometer to the new tire size. You will want to measure the tire size manually and not just go off of the stated measurement on the side of the tire. My tires ran a little bit smaller than stated which would throw the speedometer off a little bit.
I was also able to adjust the pressure that the TPMS sensors would come on at. From the factory, these trucks run on pizza cutter tires that are pumped to 65psi. I set my pressures right around 40psi to get some small bump sensitivity from the sidewalls of these offroad tires. This also allowed for more even tire wear as I was able to set a pressure that created even contact across the the tread. This AEV Pro-Cal also has settings where you can adjust your speedometer for re-gearing. I did not, however, need to regear this truck.
This was a great truck and a great build. It has since sold, but I will probably be back in the market for another one of these solid axle trucks soon. If you have any questions about this build or any other builds on any generation of Ram 2500, please fill out the form below.
Parts List
Note: Many customers will ask if these trucks need to be re-geared. I did not re-gear mine as I never felt like I was down on power with these larger tires
